- Pentalobe screwdriver
- Phillips screwdriver
- Metal spatula
- Plastic spatula
- Suction cup
Preface
Use the following picture guide to easily change the display on your iPhone & and iPhone & Plus. Make sure that you install the home button from your old display into the new one. Without your original home button, the fingerprint sensor with touch ID will not work.
You should make a backup of your iPhone before changing the display and then turn it off.
Step 1: Remove Pentalobe screws
Remove the two Pentalobe screws on the bottom of the iPhone.
Step 2: Open display

Lift the screen out of the frame using either the suction cup or the thin metal spatula Which of the two you will use depends largely on the state of your screen. If it’s still mostly uncracked, the suction cup will work just fine.
Step 3: Detach display from frame

Drive the plectrum between frame and screen. Be careful not to insert it too far into the device in the area around the home button. Slowly lift up the screen, together with the inner metal frame it is attached to inside the device.
Step 4: Remove cover

Open the screen just enough so you are able to reach these five screws securing the metal cover.
Step 5: Detach connectors


Step 6: Remove earpiece speaker
* If you bought the item with Spare Parts(Front Camera, Sensor Flex, Shield plate, Earpiece Speaker), no need to do this step.

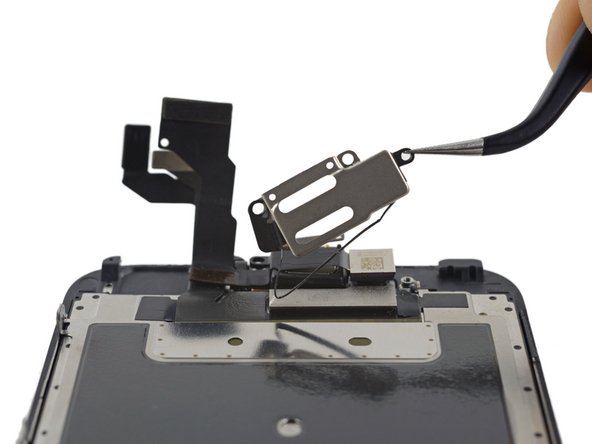
Lift up and remove the earpiece speaker bracket, peeling up the bracket gasket as you go.
Peel up the gasket carefully, as it is thin and can tear easily.

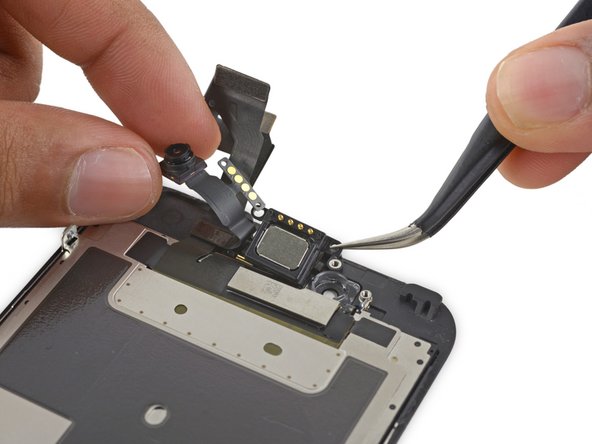
Pull back the front-facing camera to access the earpiece speaker.
Remove the earpiece speaker.
Be careful not to touch the golden contacts as you remove and replace the speaker. Oil from your skin can interfere with the contacts interrupt the connection. If you accidentally touch them with your skin, wipe them off with a little isopropyl alcohol (rubbing alcohol) before reinstalling them.
Step 7: Remove front-facing camera and sensor cable
* If you bought the item with Spare Parts(Front Camera, Sensor Flex, Shield plate, Earpiece Speaker), no need to do this step.
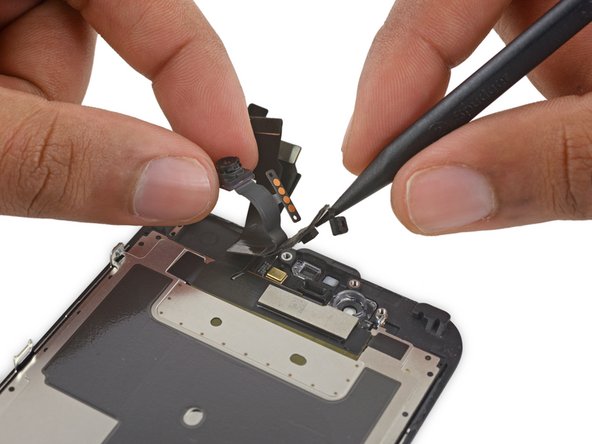


Step 8: Remove Home Button

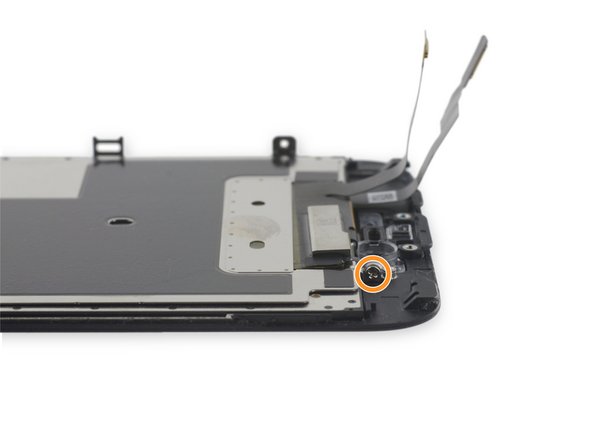
Remove the three 1.7 mm Phillips screws securing the home button bracket.
Do not over-tighten these screws as these can damage the front of the display.
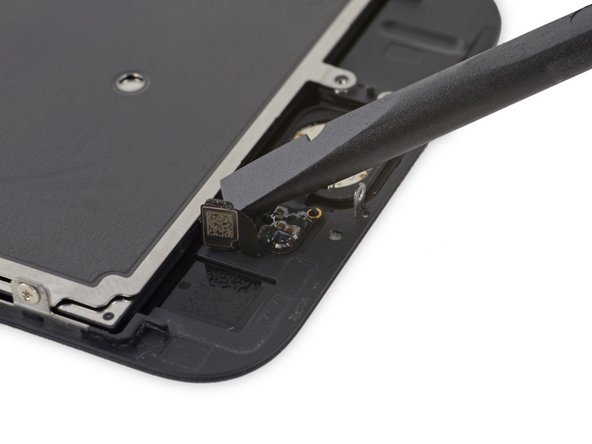

The rubber gasket surrounding the home button is very thin and tears easily.
Apply mild heat (with a heat gun, or hair dryer) to soften the adhesive securing the home button gasket.
Using your fingertip, gently press up on the home button from the front side of the display assembly. Use firm, constant pressure to slowly separate the home button's rubber gasket from the front panel.


Step 9: Remove the EMI shield
* If you bought the item with Spare Parts(Front Camera, Sensor Flex, Shield plate, Earpiece Speaker), no need to do this step.

Remove the following seven 1.3 mm Phillips screws:
Three screws each on the left and right edges of the display panel.
A single screw recessed 1.5 cm from the right edge of the screen.


Remove the EMI shield.
When installing the EMI shield, orient it so that the metal cutout (shown at bottom center) lays over the top of the display cable assembly, while the piece of tape slides behind it.

